This page shows you how to add a link to your Shop Local Store in a WordPress 'menu.'
- Log in to your WordPress account.
- Find the Appearance menu option on the left-hand side. Hover your mouse over this option and select Editor.
This will take you to an editing view for your primary website.
- In the editing view, you'll notice a dark grey menu on the left-hand side and a view of your website on the right-hand side. Click anywhere in the website view on the right to edit your website.
- Click on the Header area at the top of the page and select Edit.
- Hover your mouse over the navigation buttons in your Header. You'll see a small box appear around the navigation. Click into that box and a black "+" sign will appear. Click the plus sign.
- A small pop-up window will appear. This is where you'll enter the name of the link and the URL to its respective page.
If we are adding a link to your Shop Local gift registry, you will:- A. For the name, type in "Gift Registry" and press Enter on your keyboard.
- B. Press the pencil icon appearing next to the link name.
- C. In the Link field, paste in your registry website address. It will resemble this: https://yourstorename.myshoplocal.com/registry.cfm
- D. Press the Enter key on your keyboard to lock in the link.
- E. Click the blue Save button appearing in the pop-up window.
- You can click and drag the navigation buttons to rearrange the order in which the links are appearing.
- Click the blue Save button at the top right-hand side of the page to save your changes.
- You can then visit your WordPress site to view your changes.
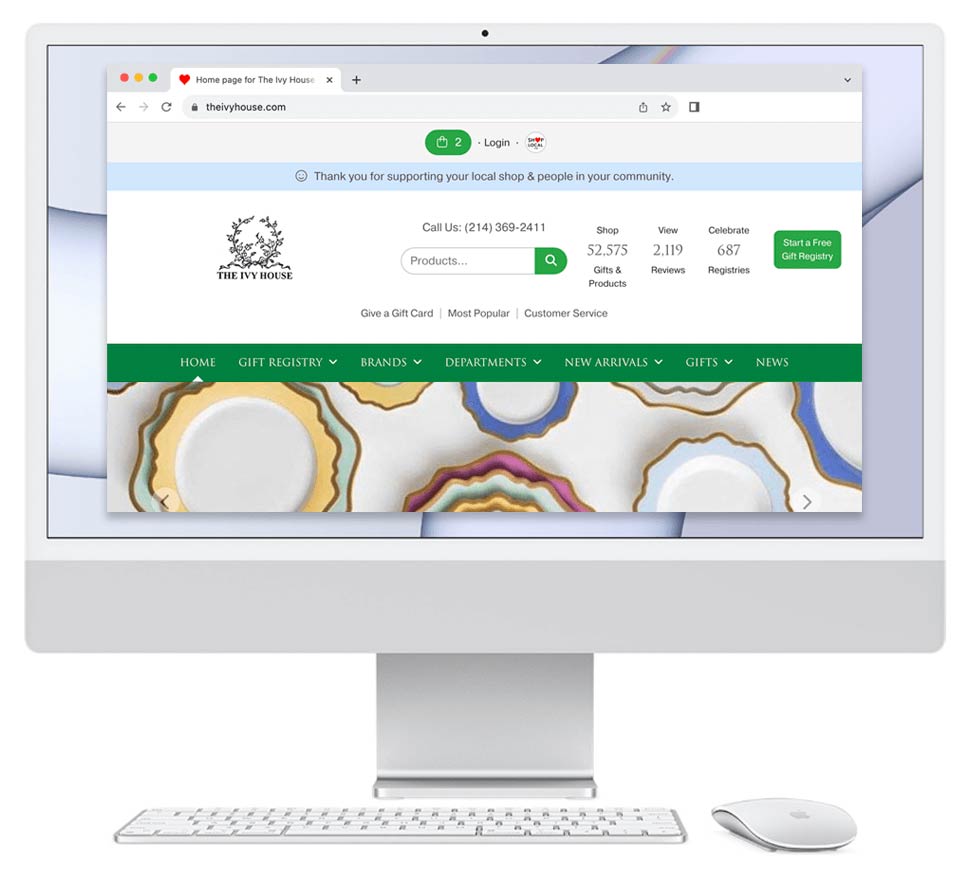
HELPFUL GRAPHICS:
Step #2:

Step #4:

Step #5:

Step #6:

VIDEO:
Please view our video here that shows the steps on how to add a link from your WordPress site to your Shop Local Store: https://vimeo.com/936768829/df094ecd9d
RELATED:
How to add a link on your parent site leading to your Shop Local Store with examples: https://bridge.myshoplocal.com/admin/support-center.cfm/171